What to Document at Every Phase of Construction
Understanding the Value of a Complete Visual Record
Construction projects move through distinct phases, each with its own risks and decisions. Capturing the right visual information at each stage gives project teams a reliable reference for schedule tracking, quality control, and stakeholder communication. Without a clear record of what happened and when, disputes over progress, hidden conditions, or change orders become harder to resolve. A systematic approach to documentation - one that matches the natural rhythm of the building process - keeps everyone on the same page and reduces costly surprises later.
Pre-Construction and Site Preparation
Before any foundation is poured, the site itself holds important information. Existing topography, vegetation, boundary markers, and neighbouring structures all need to be recorded. This baseline visual record serves as the reference point for everything that follows. Aerial photographs taken at this stage show the true starting condition of the land, including drainage patterns, access routes, and any pre-existing damage or debris. Without this initial capture, it is difficult to prove whether later changes were caused by construction activity or were already present. The first site visit should aim for comprehensive coverage - wide-angle overviews plus close-ups of specific features such as retaining walls, utility connections, or tree lines that will be affected by the work.
Foundation and Earthwork Stages
Once excavation begins, the ground changes rapidly. This is one of the most critical periods for documentation because buried elements become invisible after they are covered. Footings, slab edges, drainage pipes, and compacted fill all need to be recorded at the moment they are installed. Aerial site imagery taken at regular intervals during earthwork shows the sequence of cuts and fills, helping project managers verify that the grading matches the civil plans. It also provides evidence if unexpected soil conditions are encountered. For this phase, a capture date every week or after each major earthwork activity is typical. The goal is to create a timeline that matches the construction schedule, so any deviation from the plan is visible in the photos before the next layer goes on top.
Structural Frame and Enclosure
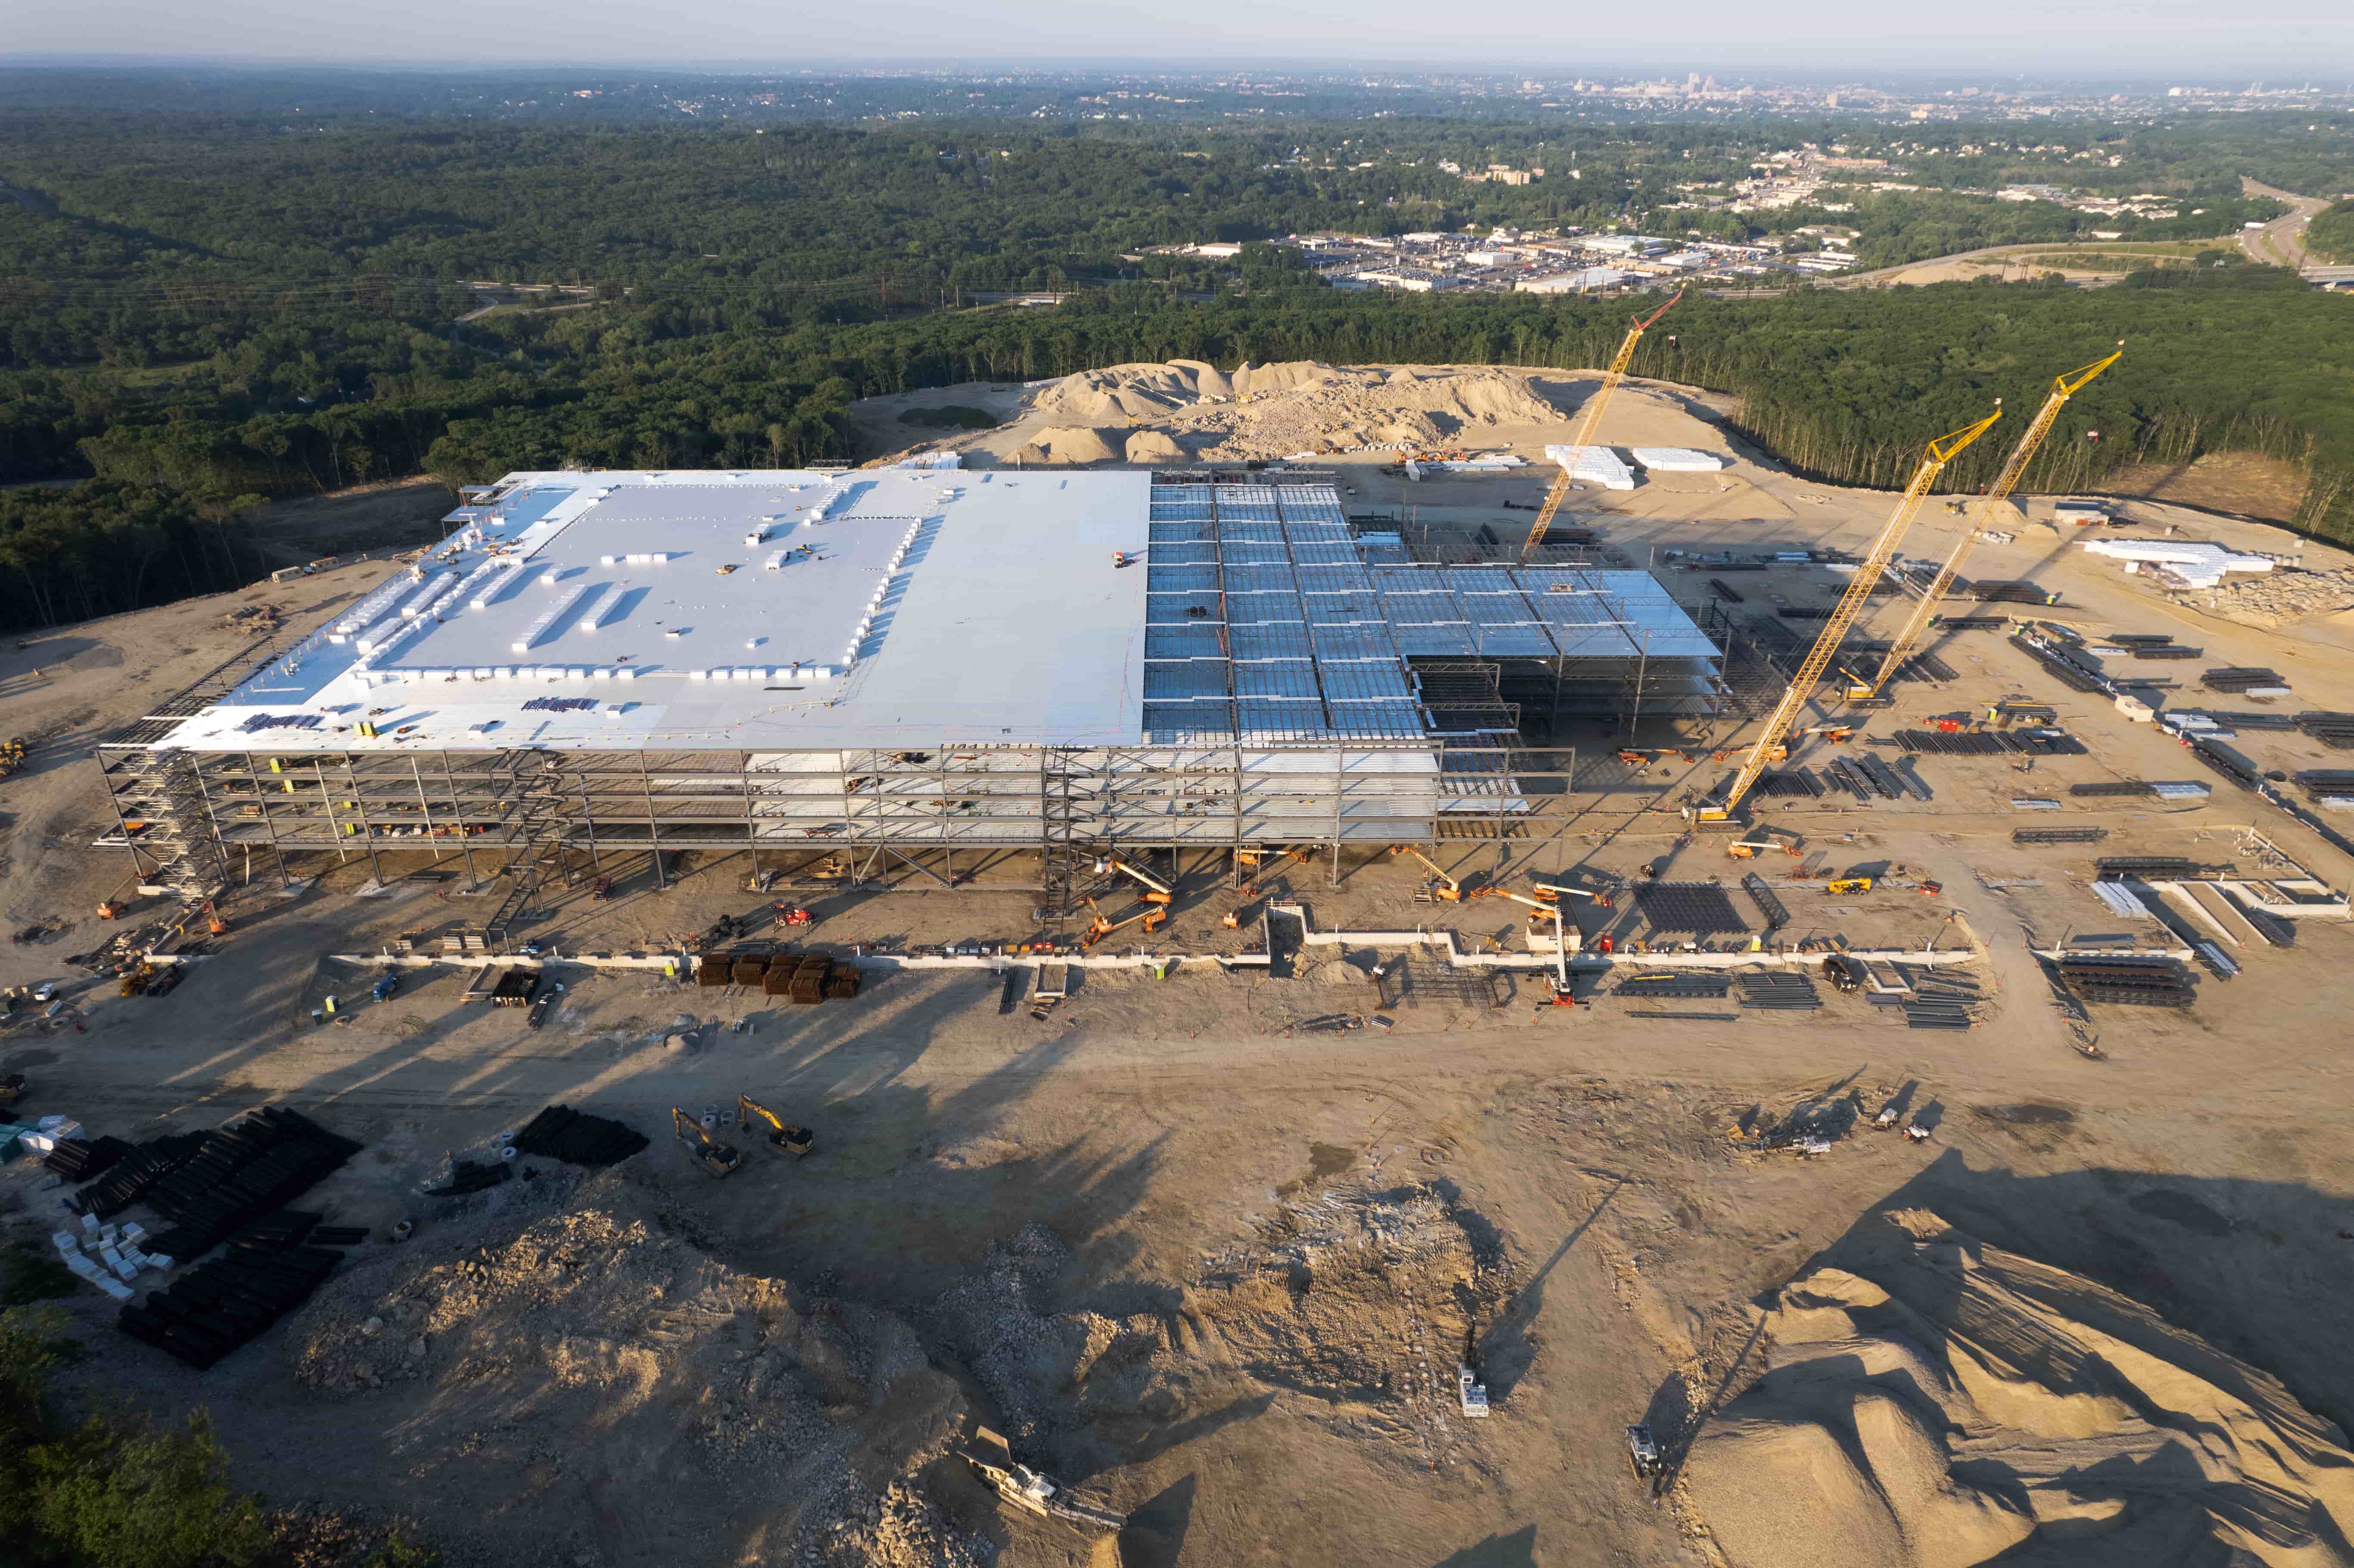
When the frame goes up - whether steel, concrete, or timber - the building begins to take shape above ground. This stage produces some of the clearest progress indicators. Aerial views from multiple angles show the relationship between the frame and the site boundaries, the alignment of columns and walls, and the placement of openings for windows and doors. At this point, the visual record should also capture the installation of major systems that will be enclosed: mechanical chases, roof drains, and fireproofing. The frequency of captures should increase if the framing schedule is compressed. Any delay or rework in this phase has a ripple effect on later trades, so having a reliable visual record helps the project team identify problems early. The combination of aerial photographs and ground-level shots gives a complete picture of the structural progress.
Interior Fit-Out and Systems Installation
As the building becomes enclosed, the focus shifts inward. Mechanical, electrical, and plumbing rough-ins happen inside walls and above ceilings. These are invisible once drywall goes up, so documentation at this stage is essential for future maintenance and for verifying that the work meets code. Aerial site imagery taken from above, before ceilings are closed, shows the routing of ductwork, conduit, and piping in relation to the structural grid. This is also the time to record the condition of the roof membrane, flashings, and any rooftop equipment. The visual record from this phase often becomes the primary reference for commissioning agents and subcontractors who arrive later. A single capture date per week is usually sufficient, but if the schedule is tight, biweekly captures may be needed to keep the timeline accurate.
Finishes, Fixtures, and Final Touches
During the final stages, the building becomes recognisable as a finished space. Paint colours, flooring materials, cabinetry, and light fixtures all go in. The visual record at this point should focus on completeness and quality. Are the finishes consistent? Are there any visible defects? Are the fixtures installed per the specifications? Aerial views become less useful for interior details, but they still help document the exterior envelope, landscaping, paving, and site utilities. The last few site visits should include a full walkthrough with a camera to capture every room and every elevation. These final images serve as the as-built record for the owner and for any future renovation. They are also the evidence that the project was completed according to the approved plans.
Post-Construction and Handover
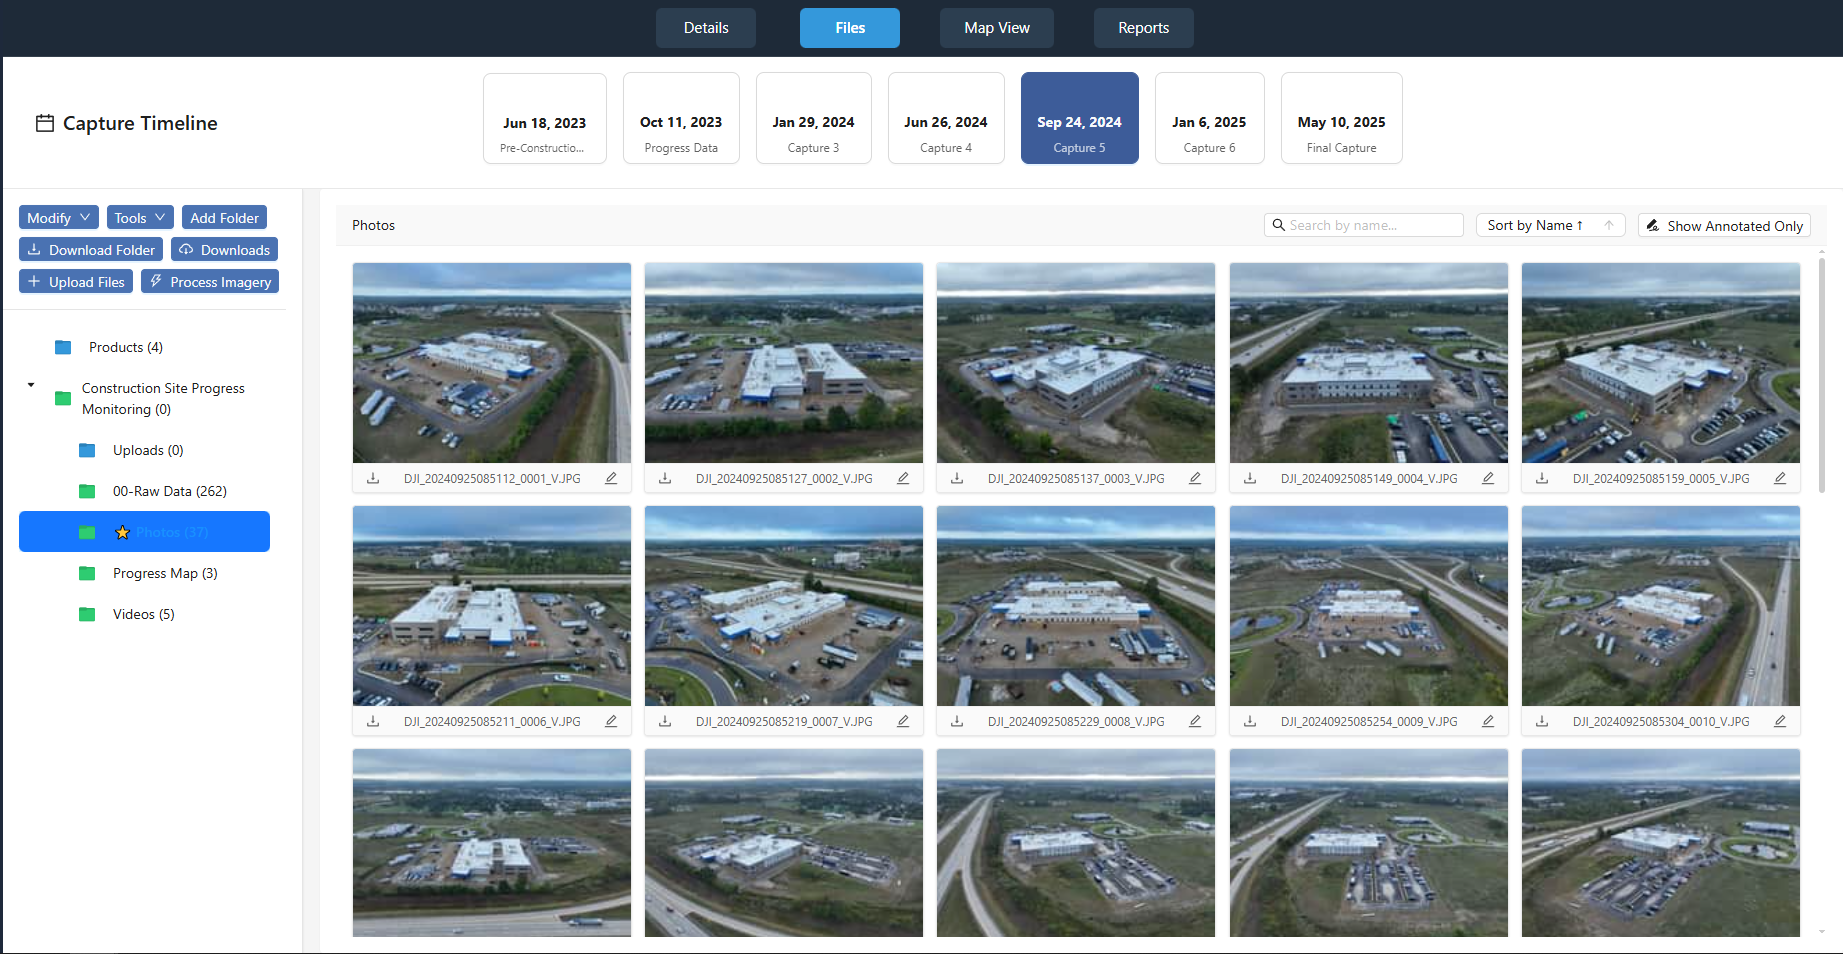
After the certificate of occupancy is issued, the project enters a period of warranty and closeout. The visual record from earlier stages now becomes a tool for training the owner's maintenance staff, for verifying punch-list items, and for resolving any claims that arise during the warranty period. A complete set of dated images from each milestone allows the project team to go back and check whether a particular condition existed at handover or developed later. This is also the time to archive the captures in a way that is easy to search and share. Many owners ask for a project portal where they can view the timeline of their building from start to finish. The value of this archive goes beyond the immediate project: it provides a reference for future expansions, insurance purposes, or even marketing materials.
Choosing the Right Capture Frequency
The ideal number of site visits depends on the project size, duration, and complexity. For a small commercial build lasting six months, monthly captures may be enough. For a large hospital or high-rise that takes two years, weekly or biweekly captures are common. The key is to align the capture dates with the project milestones: before and after each major phase transition. A regular schedule, combined with extra captures when unexpected events occur, gives the most useful visual record. The project manager and the documentation provider should agree on the frequency at the start and adjust it as the work progresses.
Making the Most of Aerial Imagery
Aerial site imagery is not just about getting a pretty overview. It provides a consistent, repeatable viewpoint that ground-level photos cannot match. When the same flight path is used each time, the images stack up like a time-lapse, making it easy to see the pace of work and spot areas that are falling behind. This kind of imagery also helps with safety monitoring: it can show whether materials are being stored in the right places, whether access routes are clear, and whether the site is being kept tidy. For large sites, aerial shots can reveal patterns that are invisible from the ground, such as soil erosion, water pooling, or traffic flow around the site perimeter. Used alongside ground photos, they create a complete and objective record of the project.
What to Look for When Reviewing Captures
Each capture should be checked against the construction schedule and the contract documents. Look for:
- Whether the work shown matches the planned sequence for that date
- Any visible damage, defects, or safety hazards
- Changes in site conditions, such as weather damage or vandalism
- The status of critical path items like foundation work or roof installation
- The condition of stored materials and equipment
If a discrepancy is found, it should be documented and communicated to the project team right away. The earlier a problem is caught, the cheaper it is to fix.
Building a Habit of Documentation
The best visual record comes from consistency. Setting a regular schedule for captures and sticking to it, even when the site seems quiet, ensures that no critical moment is missed. Over the life of a project, the collection of images becomes an asset that pays for itself through fewer disputes, faster closeout, and better decision-making. By thinking ahead about what to capture at each stage, project teams can turn a routine documentation task into a powerful management tool.